Share this
by Joy Youwakim on 15/Mar/23
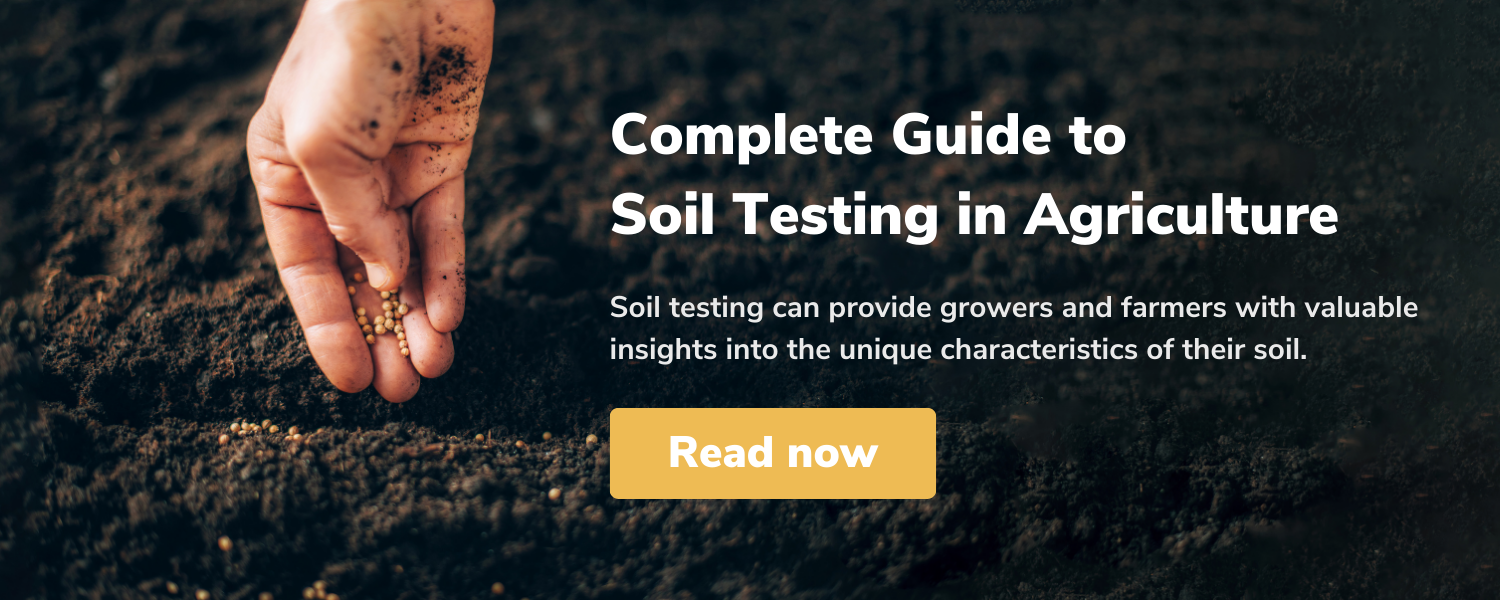
Soil biology testing is an essential tool for understanding the microbial life in your soil, which plays a critical role in soil nutrient cycling, health, biodiversity, and more. However, obtaining accurate soil samples for testing can be a challenging and time-consuming process.
This blog will help you obtain reliable soil samples that will provide valuable insights into the microbial life in your soil. Whether you are new to soil biology testing or a seasoned pro, this will help you collect soil samples that will yield accurate and meaningful test results.
Step 1:
Purchase a BeCrop Test in the online shop.
Please complete the contact form if you want to purchase more than 10 samples. You will be connected with a Biome Makers team member.
Step 2:
A Customer Success Manager will follow up with you by sending a sampling kit and a confirmation email with the tracking number.
You will receive a PDF file with the sampling instructions and an Excel file to record metadata for your samples: collection date, crop, coordinates, soil type, products that may have been applied, and more. This information is important for preparing your reports, so please provide as much information as possible.
When sending each batch of samples back to the Biome Makers’ lab, you will email the completed metadata sheet to the Customer Success Manager so the processing may begin.
If you are using the BeCrop Project Planner, you may also upload the geographical information into the BeCrop Tracking Module or send it to our Customer Success Manager.
Why do I need to include the geolocation information?
The metadata is required to map the allocations of samples to their corresponding blocks, defining and drawing comparisons between various blocks and calculating weather and soil data.
Step 3:
Collect soil samples from your fields. At Biome Makers, we provide sampling tubes and a sampling spoon to facilitate soil collection, and the amount needed is ¼ of the tube. The amount we request you send is 5gr. per sample.
Do I need special equipment?
No special equipment is needed, but we recommend you use gloves and sanitize the trowel with ethanol, allowing it to dry before and between sample collections.
How deep should I sample?
We recommend sampling at a depth of 6 inches to properly represent the microbes in both the topsoil and lower layers. Most pathogens and microbes involved with nutrient cycling and the supply of plant growth promoters are found in the rhizosphere, near the topsoil.
Where should I collect the soil sample?
The goal is to take a composite soil sample representing the field you want to analyze. Each tube should contain subsamples from 3 to 12 locations in the same block in order to make the sample truly representative of our study.
Optimal resolution is derived from 1-2 acres, but the surface covered per sample can be increased without a significant loss of representativity in uniform soils.
It is important that each sampling area has uniform soil characteristics (pH, texture) and consistent management practices (fertilizer applications, irrigation, etc.).
How samples should I take?
The number of samples required depends on the specific questions you want to be answered. This will be assessed before the sampling to ensure you’re provided with the appropriate solutions.
Step number 4:
Send us your soil sample(s), so our labs can analyze it.
Here are some best practices around sampling and shipping samples in order to preserve the integrity of biological samples and get the best results. It’s important to note that the sample you are collecting from the field is alive. Contrary to physiochemical sampling and shipping requirements, it is critical to maintaining the microbes' populations as they are on the field for biological analysis. Leaving samples out at room temperature for many days periods of time can distort microbial populations.
Cross-contamination is another issue that must be avoided in order to maintain sample integrity. Ensuring that the tools are clean will help to make the most accurate analysis of the samples. It is important to ensure that the samples are tightly closed and sealed in waterproof containers, individually and collectively, to prevent cross-contamination and releasing potential pathogens into the environment. Ice packs can be very helpful in order to maintain the highest integrity of the samples.
However, using shipping methods to get the samples to the lab within 2-3 days may be good enough to maintain the integrity of the samples. However, overnight shipping is the best practice. It is recommended that samples be shipped frozen early in the week to avoid weekend delays.
Do I need to ship the samples overnight?
No, overnight shipping is not required. Ideally, samples should arrive at the lab within 72h of being collected. However, we have not observed significant changes in the microbial communities for a period of up to 15 days after sampling (at room temperature).
Storage and shipping guidelines.
Given that soil microbiomes are sensitive, here are our recommended guidelines for proper storage and shipping:
- Soil samples can be stored long-term at -20 °C (-4 °F).
- Soil samples can be stored up to 3 days if refrigerated at 0-6 °C (32-48 °F).
- Ideally, soil samples should be shipped using 1-day shipping with total transit time not to exceed more than 5 days at room temperature.
How long until I receive the results?
The turnaround time is usually 4 to 6 weeks from when the samples arrive at our lab.
Step number 5:
You will receive your soil test results in a detailed report that includes soil health, nutrition, biodiversity, and resilience information.
You can also see the results in the BeCrop Portal. Biome Makers, customers can enroll in the BeCrop Advisor Program, which helps interpret the results in the BeCrop Report and BeCrop Portal.
You will also receive a complete BeCrop Guide, which breaks down each section corresponding to your BeCrop Report.
Conclusion
In conclusion, collecting soil samples for testing is a critical step in understanding the microbial life in your soil and optimizing your crop production. By following the step-by-step guide provided in this blog, you can obtain reliable and accurate soil samples that will provide valuable insights into the health of your soil and the microbial communities that support it. With this knowledge, you can make informed decisions on managing your soil, improving its structure, and optimizing nutrient cycling for healthy plant growth.
So whether you are a seasoned pro or new to soil biology testing, use this guide to collect soil samples that will yield meaningful results and help you achieve your goals for sustainable agriculture.